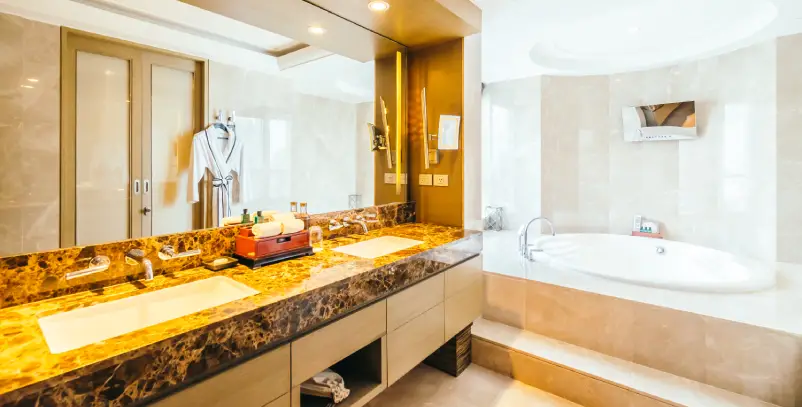
Toilets are one of the most frequently renovated areas in a home, second only to the kitchen.
So, how does one go about getting this done? Whether entrusting this to a professional or doing this on one’s own, it is good to know the steps to renovation before starting.
Step 1: Take detailed measurements of the space and make a rough sketch more or less in proportion or to scale. Make sure the room height is also taken. Make notes on what you want changed or retained keeping in mind the negatives and positive features in your present toilet.

All toilets basically are divided into wet areas, (showers bath tubs Jacuzzi etc,) and dry areas. (Wash basins and water closets.)
Take into consideration the door and window positions, sometimes it may be more efficient to shift the position, and decide on the position of the wash counter, water closet and shower.
Add the ideas you have picked up from pinterest, magazines, while traveling and your neighbor’s toilet, (be realistic… this is a small space,) and make a mood board.

Step 2: In case this is over whelming, get a professional to make a drawing, adding your ideas .This will then clearly take care of the electrical, plumbing, false ceiling, cabinetry design, tiling layout etc.
In case you still plan to DIY, well, go on to step 3!
Step 3: Retain, Replace, and Reuse: Take a survey of what you want to retain, what has to be changed and what you can do to reuse something into a new avatar.
Step 4: Make a list of what materials, fittings need to be bought. .you may have to rely heavily on the plumber, electrician or tile worker you have engaged, and step out into the market, both virtually and physically to get the best information on the availability and pricing.
Step 5: Get a quotation of the cost involved in civil work, electrical, plumbing, false ceiling, glass partition for the shower area, tiling for floor and walls, all fittings, cabinetry, and painting. Do not forget the 15 to 20 percent profit margin if handing this to a turnkey contractor. (If you do not have any experience in renovation I would recommend going for the turnkey guy, instead of going on a wild goose chase after the various subcontractors.) Once you are OK with the hole in your bank balance, decide on your contractor.
Consider the quality of the contractors work and his past delivery time record before finalizing, whether giving on turnkey or on subcontract basis. In either case insist on a supervisor during the entire work period so you can have a one point man to rant to when things go wrong. Insist on experienced workers at your site, as otherwise they will use your project as a training school for their workers.
Step 6: Start the work with a prayer… for patience, you will need plenty of that until the work is over.
Once they have completed creating a war zone in what was your toilet, make sure they remove all the debris from the area before starting on the fresh work.
Step 7.Make sure the plumber knows how to fix that closet you paid a month’s salary on, the correct pressure to get the rain shower flowing, the slope for the water drainage outlets etc. (leaks are a sure way to make the downstairs neighbor your sworn enemy.) if you are concerned about safety for senior citizens consider grab bars and built in seats.
Step 8: Tell the electrician about your dream lighting that you decided on after trawling through countless images and hours on pinterest. That the light should fall on your face when you look into the mirror. That the general lighting should allow you to read in peace while you go about your business, as well as be able to provide the relaxing ambience of a luxury spa when you are in the hot tub. That the hair dryer/shaver outlet should be on the right side and the light switch easily accessible. Installing a nightlight would be helpful.
Make sure that the ventilators are efficient and quiet, preferably concealed subtly in the ceiling.
Step 9: Select your sanitary fittings and fixtures well before the plumbing and electrical work starts. For the floor and wall finishes the choice of material, texture, colour, pattern and cost are so vast it could be very exhausting. Keeping in mind the style that you are striving for, as well as the cost, could make things simpler.
Step 10: When it is all completed, add that personal touch. An indoor plant, a colorful accessory, a painting, a designer knob or clothes stand, the antique chest you inherited…anything that makes it you. Make sure you have the right light falling or highlighting that special piece.
Hey! You can now have an instagram- able toilet of your own!
